
How to Plan a Custom Kitchen That Lasts Decades
A great kitchen isn't about trends — it's about layout, materials and the small decisions that decide whether you still love it in twenty years.
Written by the Panda Reno design and workshop team: custom cabinet makers designing, building and installing across the Greater Toronto Area.
Most kitchens are designed around a look. The ones that last are designed around a life. Before we draw a single cabinet, we want to know how you cook, who's in the room while you do it, and what drives you mad about your current kitchen. Everything good follows from those answers.
Start with how you actually cook
Are you a one-pan weeknight cook or a weekend project cook? Do two people work in the kitchen at once? Where does the grocery bag land, and where does the recycling go? The answers decide your work triangle, your counter runs and how much landing space you need beside the range and the fridge.
A kitchen that fits your habits feels effortless. One that fits a magazine layout fights you every day.
Storage is a layout problem, not a cabinet problem
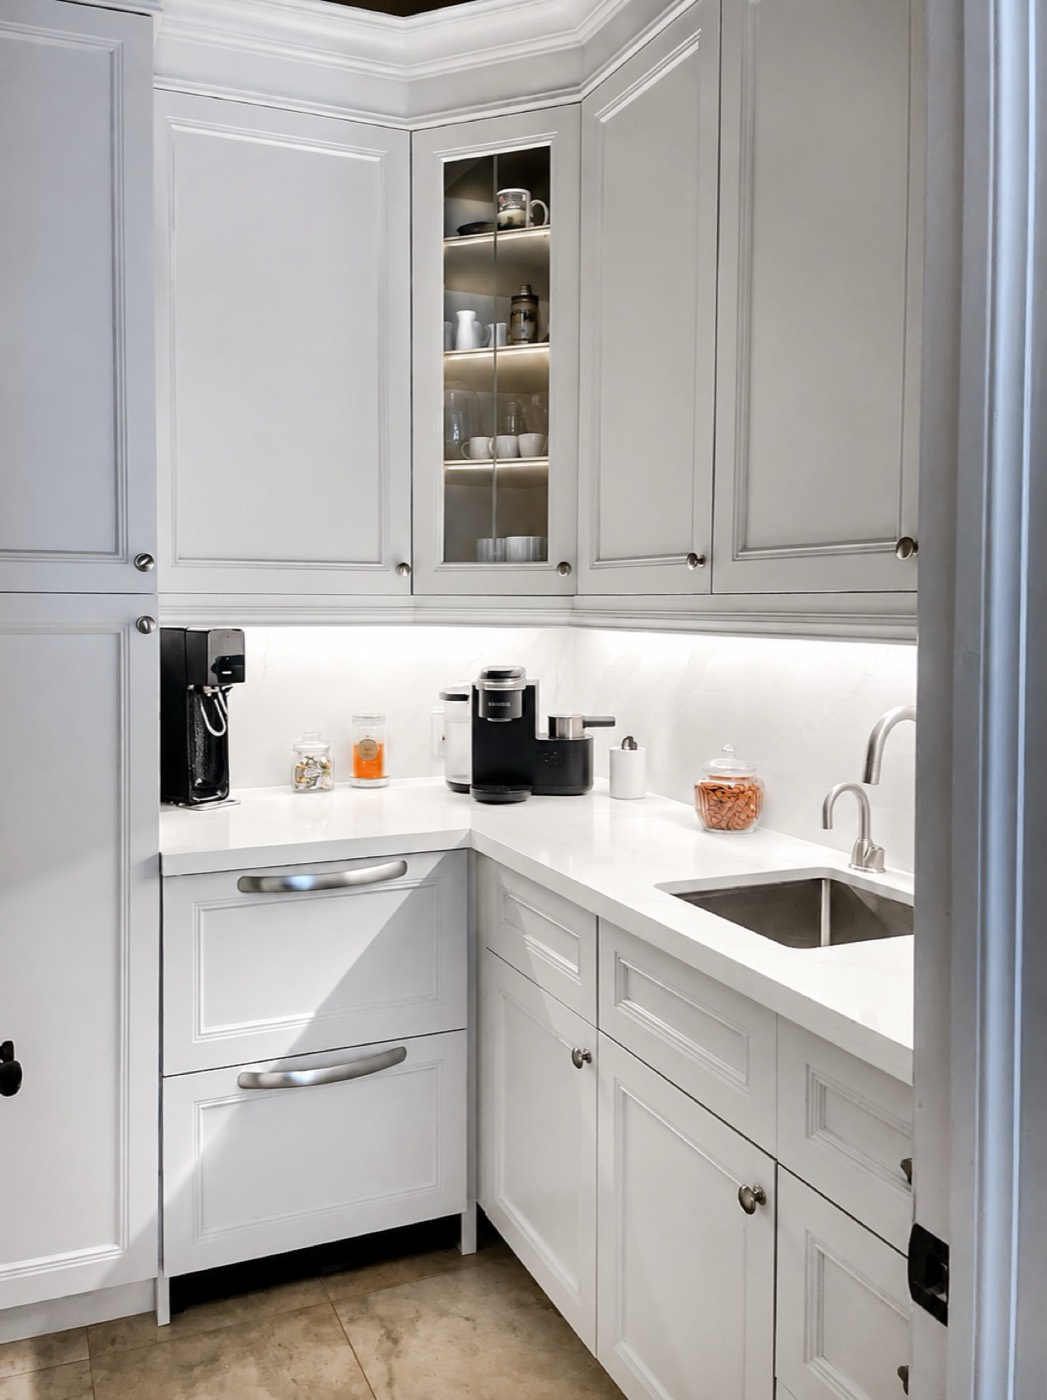
Adding more cabinets rarely fixes a cluttered kitchen. Putting the right storage in the right place does. Deep drawers near the dishwasher, a pull-out beside the cooktop, a dedicated home for small appliances, a pantry that takes the bulk overflow — these are layout decisions made early, not accessories added late.
Choose materials for the next twenty years
Finishes date faster than forms. A simple, well-proportioned door in a quality material ages far better than a trend-driven profile. We steer clients toward solid wood, quality veneer and durable painted panel, with stone counters chosen as much for how they wear as how they look.
Hardware is the jewellery — and the thing your hands touch a thousand times a month. Spend there.
Treat lighting as part of the cabinetry
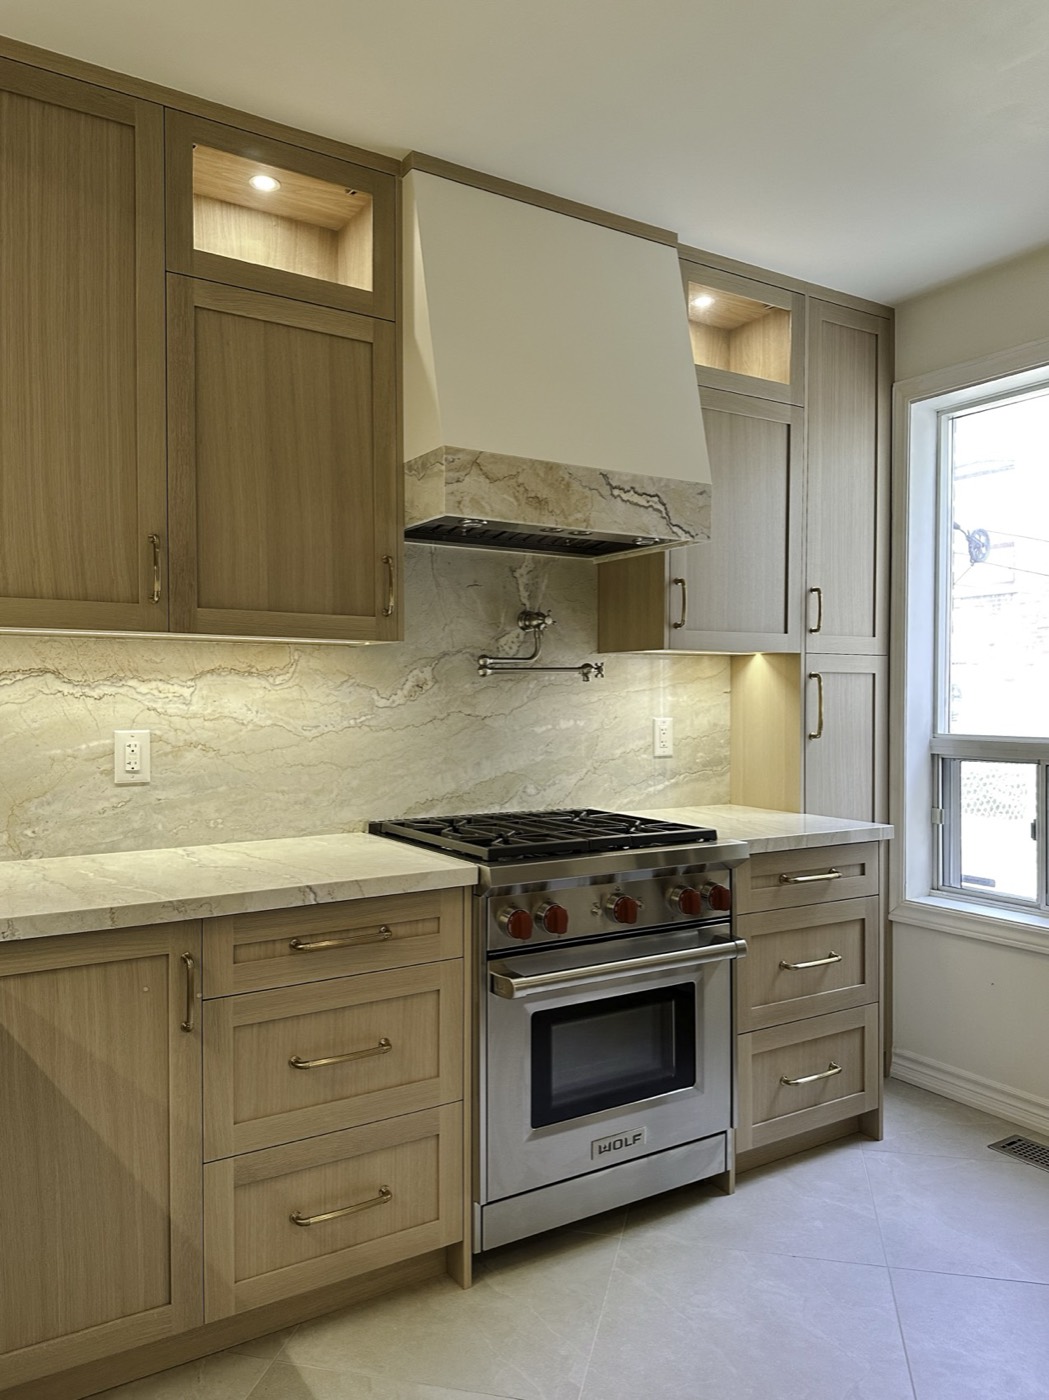
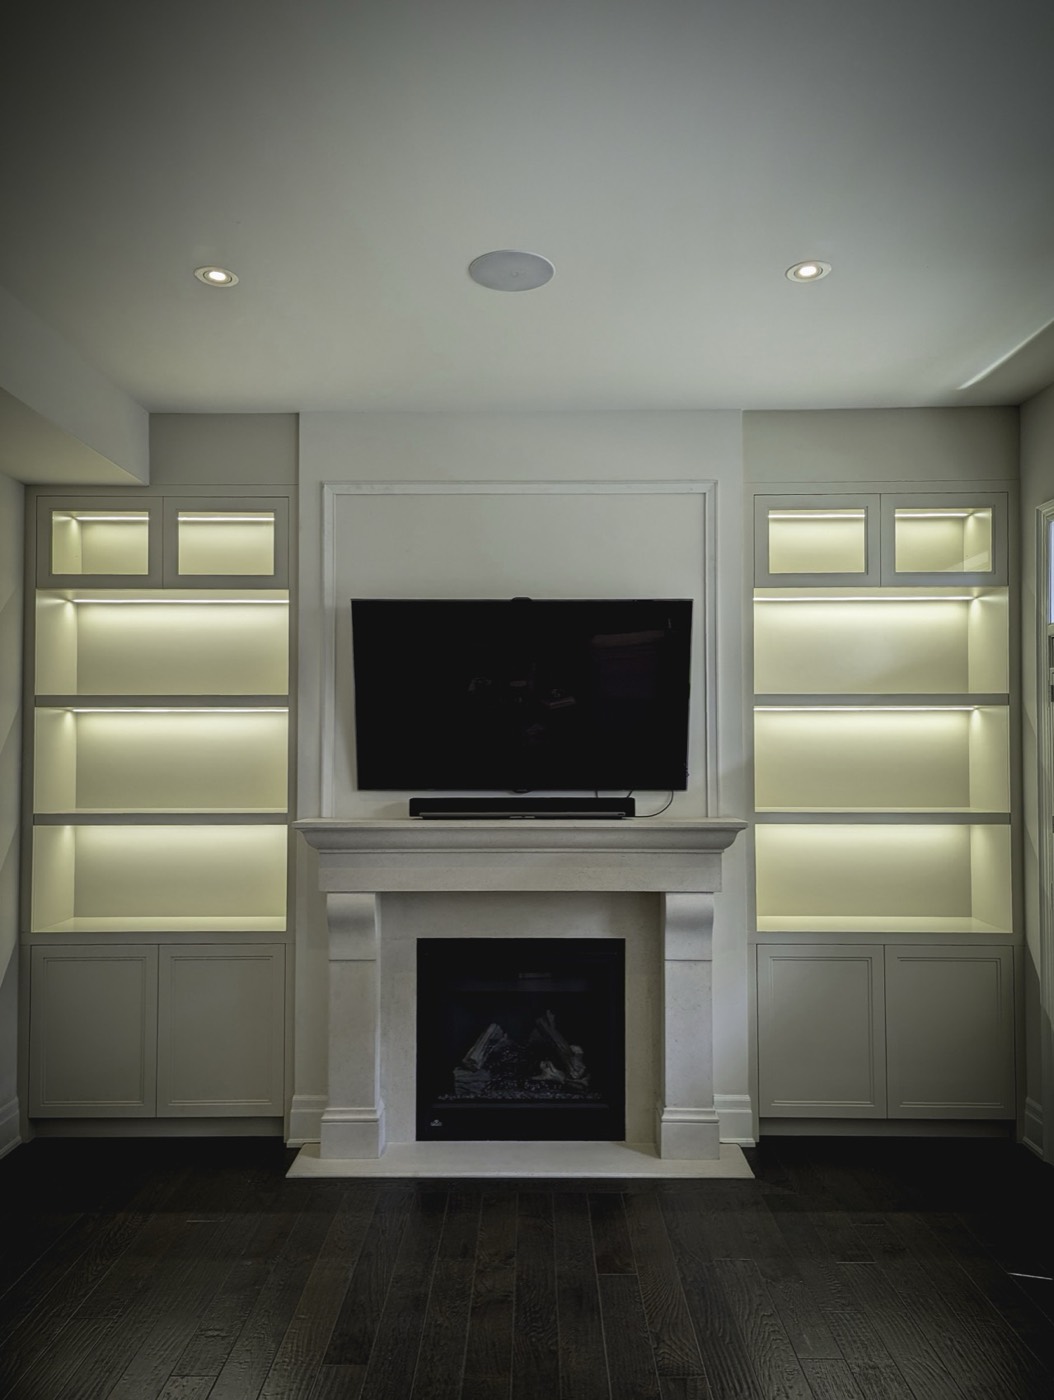
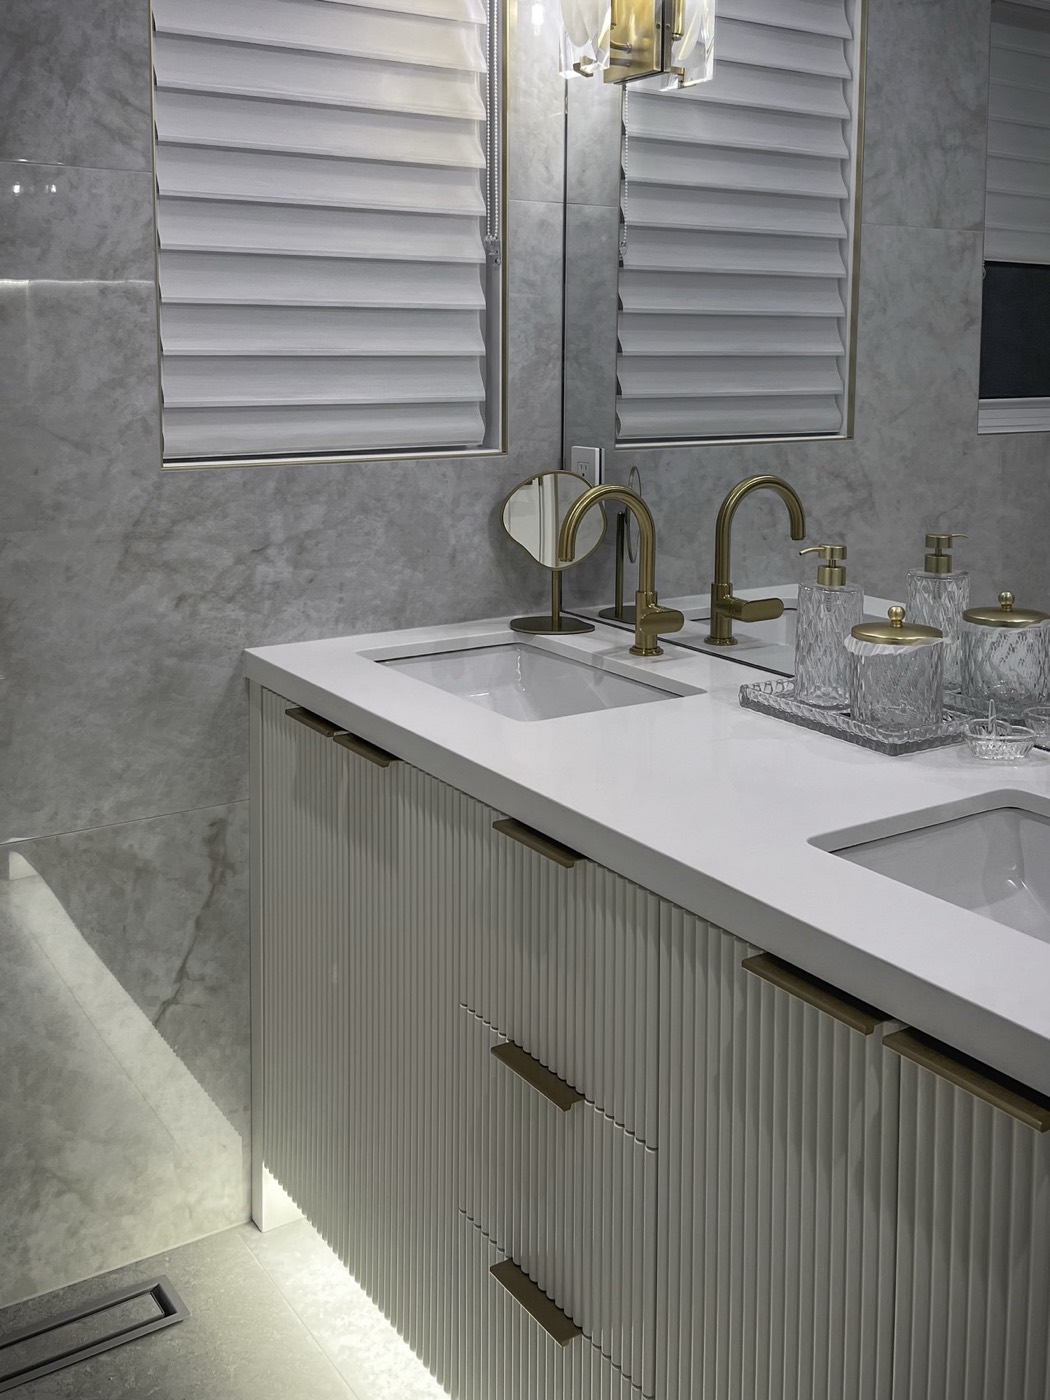
Under-cabinet, in-cabinet and toe-kick lighting transform how a kitchen feels at night and how it works during prep. Because we build the cabinetry, we can integrate lighting and conceal the wiring from the start, rather than bolting it on afterwards.
Plan for the appliances you'll buy, not the ones you have
Appliance sizes and panel-ready options change. We design around your final appliance selections and template panel-ready units into the cabinetry so the fridge, dishwasher and hood disappear into the run. Decide appliances before we build — retrofitting later is the most common, most avoidable kitchen regret.
Get the clearances right
The most expensive cabinetry in the world will not fix a kitchen that is too tight to move through. As a rule of thumb, aim for roughly 36 inches of clear walkway, around 42 inches for a work aisle used by one cook, and closer to 48 inches where two people regularly cook together. Leave landing space of about 15 inches beside the fridge and on at least one side of the cooktop, so hot pans and grocery bags always have somewhere to go.
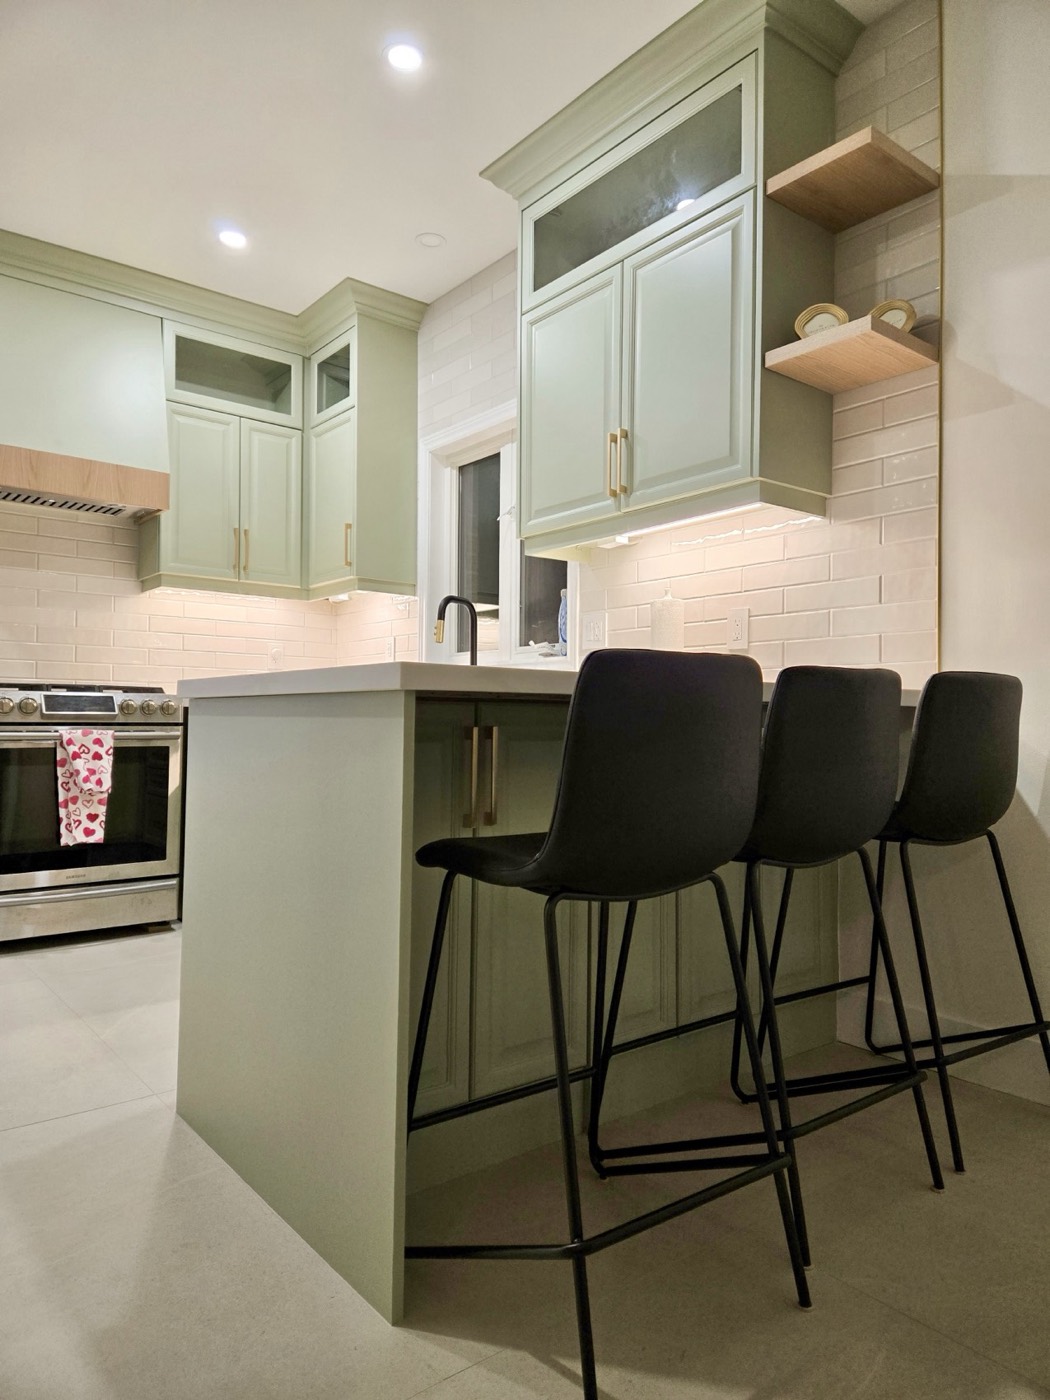
Island seating needs room too: a counter overhang of roughly 12 to 15 inches for knees, and enough space behind the stools for someone to walk past. These numbers are guides rather than rules, and older Toronto houses often need clever compromises, but they are the first thing we check on every layout.
Make the island work, not just look good
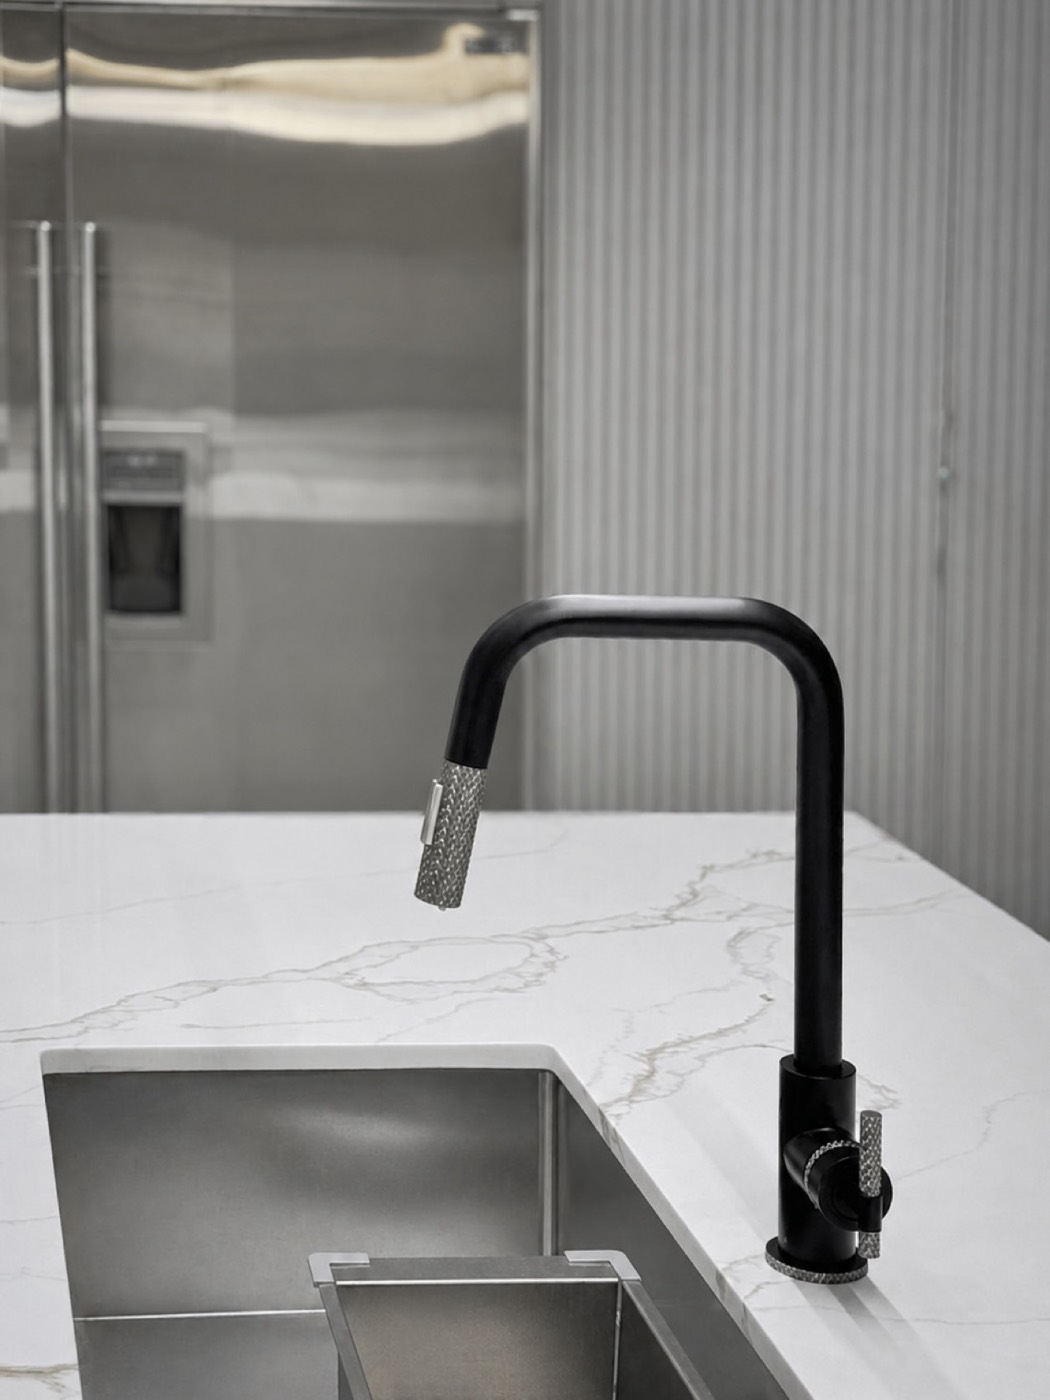
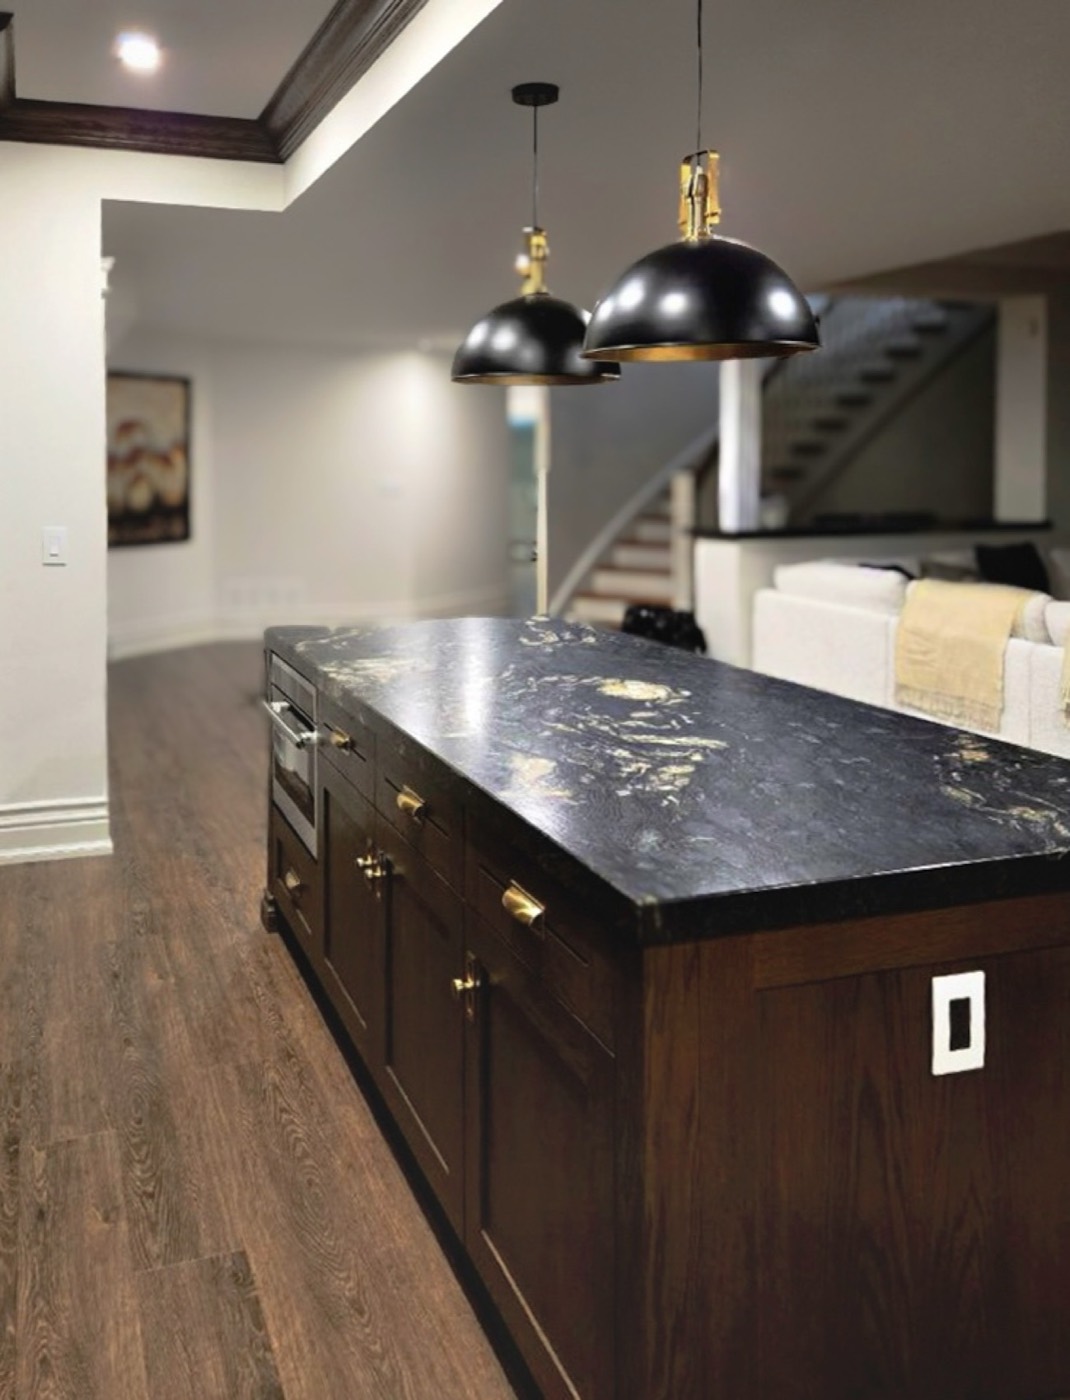
An island should earn its floor space. Decide early what it is for: prep, cleaning, seating, storage or all four. A prep sink in the island keeps the cook facing the room; a main sink there needs plumbing through the floor and careful thought about dish clutter on display. The working side of an island is ideal for deep drawers, and the seating side can hold shallow storage for things you use less often.
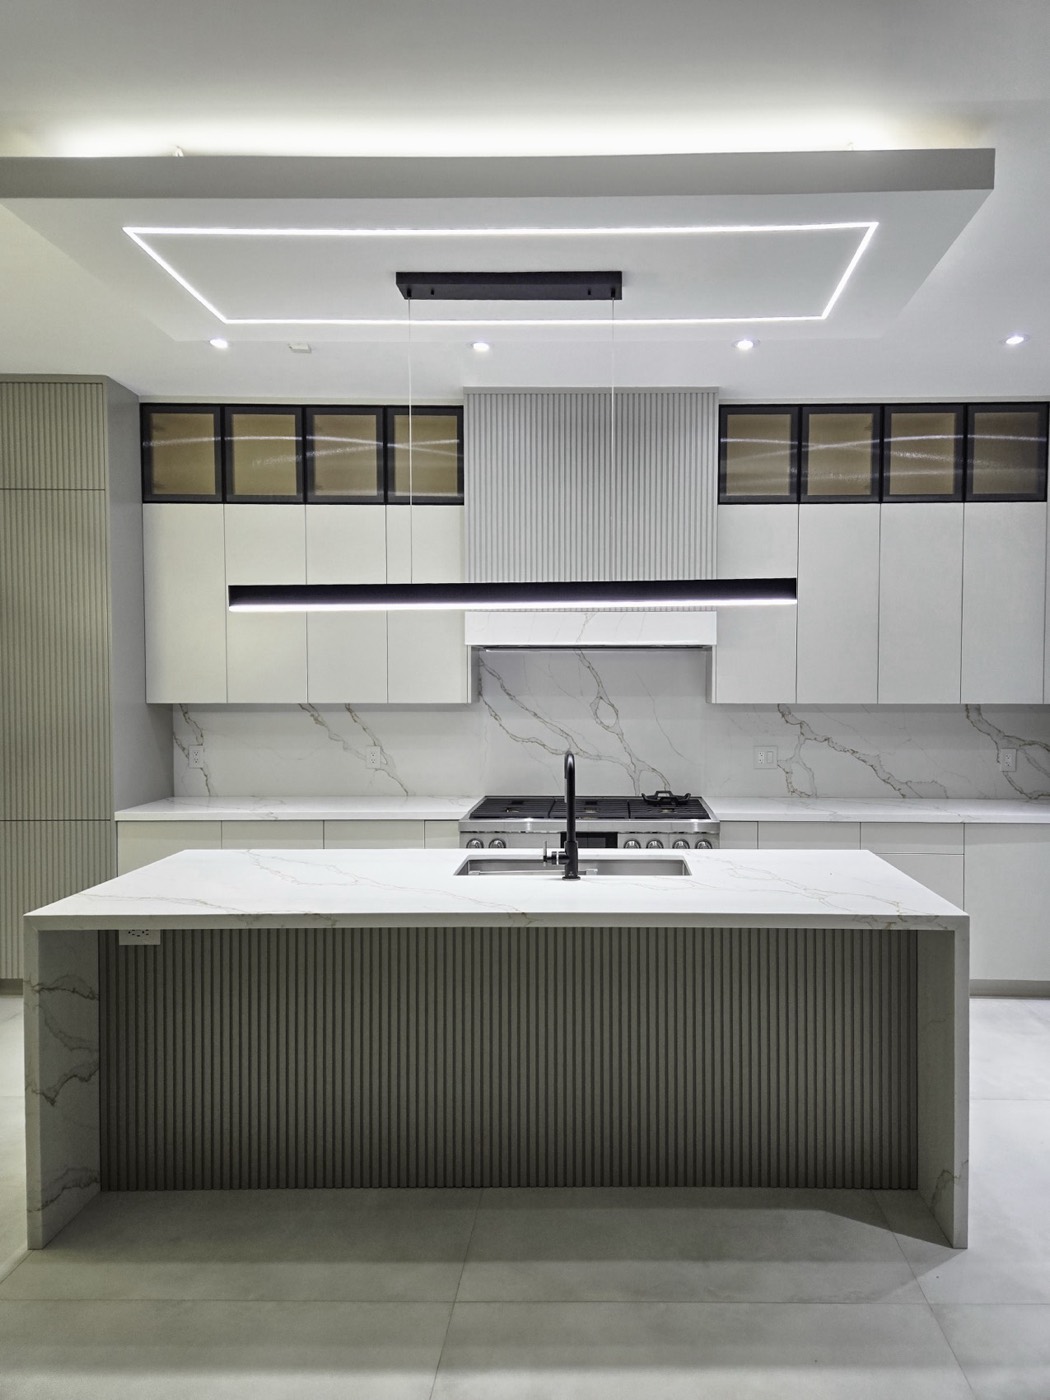
Plan power for the island at the same time, because your electrician will need to bring it up through the floor before the cabinetry goes in. Our Contemporary Calacatta Kitchen shows a waterfall island designed as the centrepiece of an open-plan room.
Design ventilation into the cabinetry
A range hood is both an appliance and a design element, and it is much easier to get right before the cabinets are drawn. Size it to the cooktop, plan the duct route to the outside, and decide whether it should be a statement or disappear behind a panel or into a custom surround. The fluted hood surround in our Traditional Cream Kitchen and the integrated linear hood in the contemporary kitchen are two very different answers to the same question.
Build in flexibility for the future
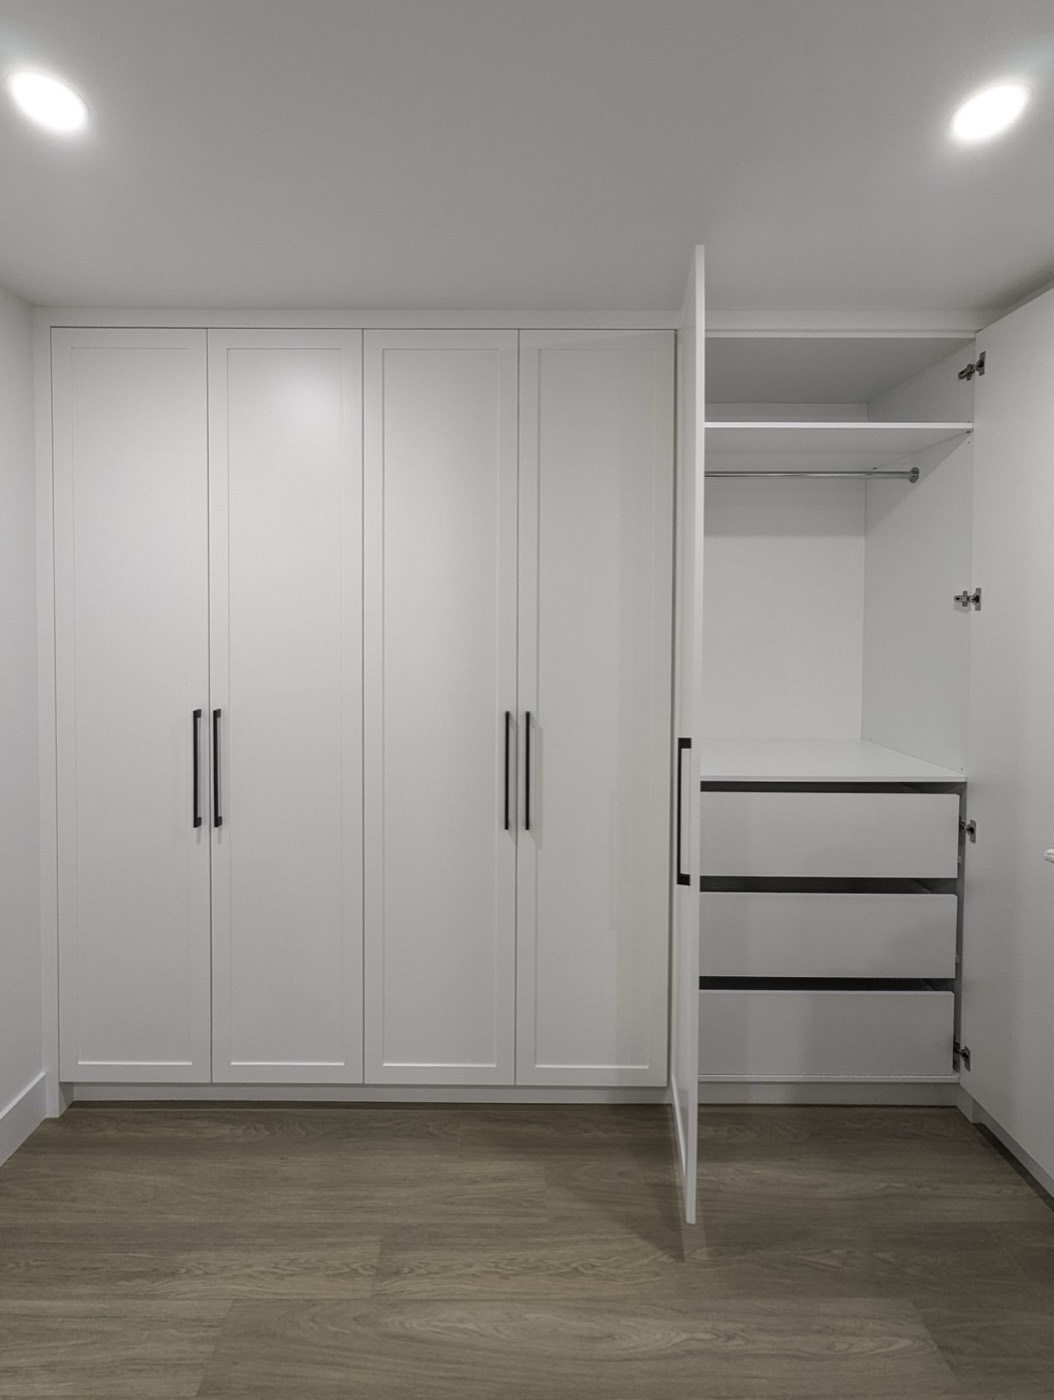
Kitchens that last are kitchens that can adapt. Adjustable shelves and reconfigurable drawer inserts let storage change as your family does. Standard appliance openings, such as a 24-inch dishwasher space, make future replacements simple. Accessible plumbing behind removable panels saves a headache later. And a few deliberately flexible cabinets, rather than everything purpose-built for today's gadgets, keep the kitchen useful as habits change.
Finishes that forgive daily life
Matte and satin finishes hide fingerprints better than high gloss. Mid-tone or wood lower cabinets hide scuffs better than bright white. Hardwax-oiled wood can be spot-repaired rather than refinished. Quartz shrugs off stains, while marble develops a patina that some people love and others do not. None of these choices is wrong, but making them knowingly is what stops a kitchen from feeling tired after a few years. For door options, see our guide to cabinet door styles.
A checklist before you sign off
Before approving final drawings, we walk every client through these questions:
- Are appliance model numbers final and confirmed?
- Is there landing space beside the fridge, cooktop and sink?
- Do walkways and work aisles have enough clearance?
- Does every everyday item have a home within easy reach?
- Are waste and recycling planned, not improvised?
- Is lighting planned for tasks, display and evening ambience?
- Have power, plumbing and ducting routes been confirmed with your trades?
- Are you happy with the finish samples in your own home's light?
The bottom line
A kitchen that lasts decades is planned around how you live, laid out with enough room to work, built from materials that age well and designed with a little flexibility for the future. If you are starting to plan, our kitchen timeline guide and GTA cost guide are good next reads, or book a free consultation to talk through your space.
Sources & further reading
Rules and requirements change; always confirm the specifics for your project with your municipality and licensed trades.
Related pages
Thinking about a project?
Let’s turn the idea into cabinetry.
Book a free consultation and we’ll talk through what’s possible for your space across the GTA.